How Do I Install Shower Wall Tile Without Professional Help?
Installing shower wall tile might seem like an overwhelming task at first, but with a bit of guidance and the right tools, you can achieve professional results on your own. This guide will walk you through the essential steps to help you tile your shower walls without needing to call in the experts.
Gather Your Materials and Tools
Before starting, ensure you have all necessary materials like tiles, adhesive, grout, and tools such as a tile cutter, level, and trowel. Having everything ready ahead of time makes the process smoother.
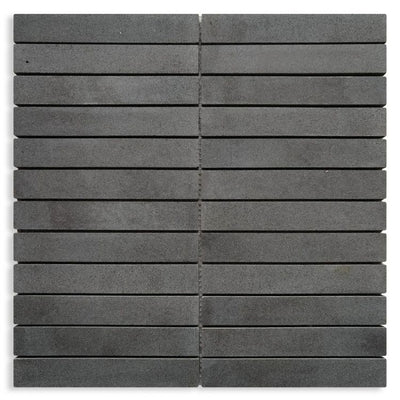
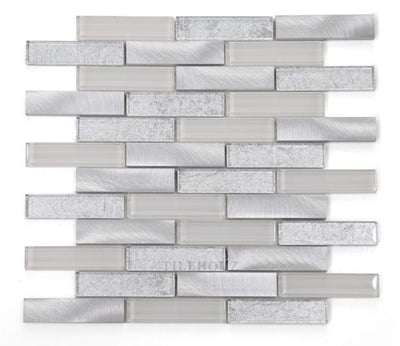
Choosing the right tile is essential. For example, the Tawny Acoustic Wood Slat Flat offers not only aesthetic beauty but also enhances sound absorption. Opting for styles that complement your bathroom design will give your shower a cohesive look.
Don’t forget to wear safety gear such as gloves and goggles to protect yourself, especially when cutting tiles. Your health and safety are a priority, and taking precautions ensures a worry-free installation process.
Prepare the Shower Walls
Make sure your shower walls are clean, dry, and even. Removing any old tiles or debris and fixing any wall imperfections will set the foundation for a successful installation.
For plaster or drywall walls, consider applying a waterproof membrane to prevent moisture damage over time. This step is crucial to maintain the integrity of your shower space, ensuring longevity and preventing mold buildup.
Accurately measure your wall dimensions. This will help you determine how many tiles you need and whether any special adjustments are required. Planning will save you from unnecessary trips to the store due to shortfalls.
Plan Your Tile Layout
Decide on your tile pattern before you start gluing anything down. Dry-lay a few rows to see how they’ll look on the wall and ensure you won’t end up with thin tile slivers in awkward places.
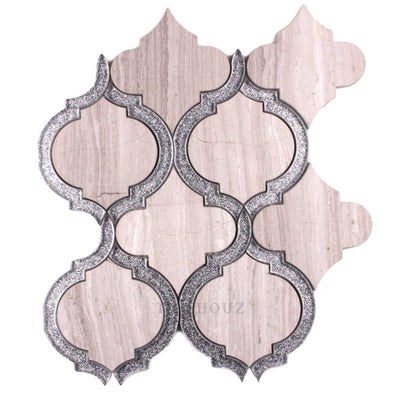
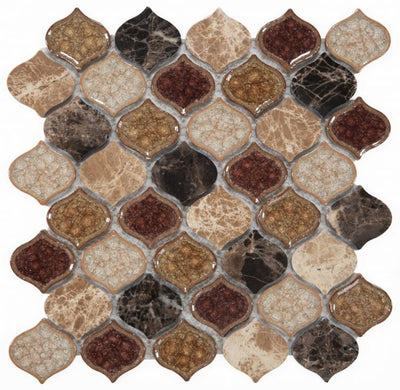
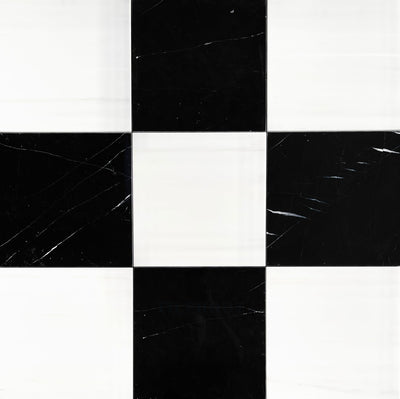
Consider your tile layout design, such as a herringbone or grid pattern, to enhance the visual appeal of your shower wall. A well-planned layout can transform a simple tile into a design feature that showcases your personal style.
Apply Tile Adhesive
Using a notched trowel, spread the tile adhesive evenly over a small section of the wall. Hold the trowel at a 45-degree angle to ensure the adhesive is applied at the correct thickness.
Start from the bottom upwards, applying the adhesive to manageable sections. This approach ensures precision and helps maintain the alignment of the rows as you progress. It’s essential for avoiding complications later in the installation.
Set the Tiles
Begin placing your tiles onto the adhesive, pressing firmly to avoid air pockets. Use spacers to guarantee uniform gaps for grouting later. Be sure to check that each tile is level.
Use a spirit level occasionally to ensure rows are horizontal and straight. This simple step can prevent uneven surfaces, which not only affect aesthetics but also the functionality of the tiled wall.
Cut Tiles to Fit Edges
As you reach the edges, you might need to cut tiles to fit. Use a tile cutter for straight cuts and a tile nipper for curved ones, ensuring neat edges and a professional look.
For unusual shapes around fixtures or corners, consider using a wet saw for precision cuts, which allow for perfect fitting and minimal wastage of tiles.
Grout the Tiles
Once the adhesive has set, remove the spacers and apply grout between the tiles using a rubber float. Wipe away excess grout with a damp sponge for a clean finish.
Allow the grout to cure properly as per the manufacturer’s instructions. This prevents cracking and maintains the integrity of your tile surface in the long run.
Seal and Finish
Allow the grout to cure, then apply a grout sealer to prevent moisture from seeping in. Finish by cleaning up any remaining grout haze and polishing the tiles to reveal their full beauty.
Once sealing is complete, admire your handiwork and enjoy the new life you’ve breathed into your bathroom space. Ready to tackle other rooms in need of a refresh? Explore our collection of versatile tiles to find inspiration for your next DIY project.
Ready to Try Tile Installation?
With careful planning, the right tools, and a little patience, installing your own shower wall tiles can be a satisfying DIY project. Not only will you save money, but you’ll also gain the satisfaction of having accomplished a beautifully tiled shower. Remember to take your time and enjoy the process! Visit our showroom for a complete range of tiles and begin your tiling journey today.

