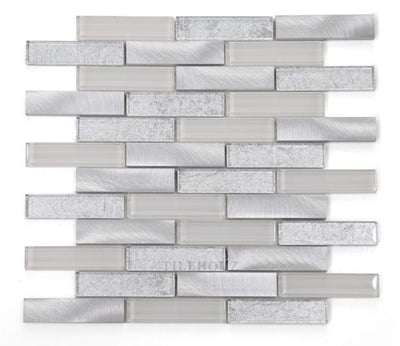
How To Install Marble Tile
Installing marble requires precision and attention to detail, so make sure you have the necessary tools and materials before you begin. Here's a step-by-step guide:
Materials and Tools:
- Marble tiles
- Tile adhesive or thinset mortar
- Tile spacers
- Notched trowel
- Tile cutter or wet saw
- Grout
- Grout float
- Sponge
- Tile sealer (optional)
- Grout sealer (optional)
- Rubber gloves
- Safety glasses
- Measuring tape
- Level
- Pencil
- Bucket and mixing paddle
Step 1: Prepare the Surface
- Ensure that the bathroom floor and walls are clean, dry, and free of any debris or existing tiles.
- Check the surface for any irregularities. Use a leveling compound to fill in any low spots or uneven areas. Allow it to dry completely before proceeding.
Step 2: Measure and Plan
- Measure the bathroom floor and walls to determine the amount of marble tile needed. Add a 10% extra for cuts and waste.
- Plan the layout by marking the starting point and determining the best orientation for the tiles. This is crucial to ensure a visually pleasing arrangement and minimize cuts.
Step 3: Apply Adhesive
- Prepare the tile adhesive or thinset mortar according to the manufacturer's instructions.
- Use a notched trowel to apply a layer of adhesive to a small section of the bathroom floor or wall, starting from the marked starting point.
- Hold the trowel at a 45-degree angle and create grooves in the adhesive.
- Only apply enough adhesive that you can work with before it dries.
Step 4: Install the Tiles
- Place the first marble tile at the starting point, pressing it firmly into the adhesive. Use a slight twisting motion to ensure a good bond.
- Insert tile spacers around the edges of the tile to create even gaps for grouting.
- Continue applying adhesive and placing tiles, working in small sections at a time.
- Use a level to check the tiles periodically and make adjustments as needed to ensure they are level and aligned.
Step 5: Cut Tiles
- Measure the space where you need to cut a tile and mark it accordingly.
- Using a tile cutter or wet saw, carefully cut the tile along the marked line. Follow the manufacturer's instructions for the specific tool you are using.
- Double-check the fit of the cut tile before proceeding.
Step 6: Grouting
- Once the adhesive has cured according to the manufacturer's instructions, remove the tile spacers.
- Prepare the grout according to the manufacturer's instructions.
- Use a grout float to spread the grout diagonally across the tile joints, pressing it into the gaps.
- Remove excess grout from the tile surfaces using the edge of the grout float held at a 45-degree angle.
- After 15-20 minutes, wipe the tiles with a damp sponge to remove grout haze. Rinse the sponge frequently and change the water as needed.
- Allow the grout to dry for the recommended time before applying any sealant.
Step 7: Sealing (Optional)
- Once the grout has fully dried, you may choose to apply a tile sealer to protect the marble. Follow the manufacturer's instructions for application and drying time.
- If desired, apply a grout sealer to protect the grout as well. Ensure the grout is fully cured before applying the sealer.
-
Remember to consult the manufacturer's instructions for specific products you are using, as techniques and drying times may vary. It's also a good idea to wear safety glasses and rubber gloves when handling the materials. With patience and careful execution, you'll be able to install marble tiles and create a beautiful bathroom space.

